Radarcape:Virtual Radar Server: Difference between revisions
Jump to navigation
Jump to search
imported>Beastadmin No edit summary |
imported>Beastadmin No edit summary |
||
| (2 intermediate revisions by the same user not shown) | |||
| Line 1: | Line 1: | ||
{{#seo: | |||
|title=Radarcape Virtual Radar Server Howto | |||
|titlemode=replace | |||
|keywords=radarcape,virtual,radar,server | |||
|description=How to use the Radarcape with Virtual Radar Server | |||
}} | |||
{| | {| | ||
|[[File:Beginner.png|For Beginners]] | |[[File:Beginner.png|For Beginners]] | ||
|'' | |''Required computer skills to execute this task: Beginner'' | ||
|} | |} | ||
Latest revision as of 11:09, 26 April 2015

|
Required computer skills to execute this task: Beginner |
Virtual Radar Server
- Download and install Virtual Radar Server
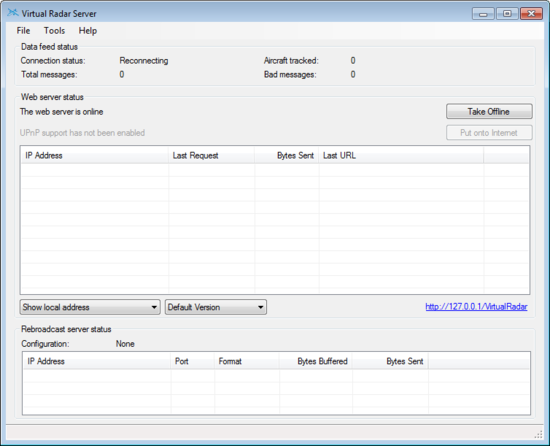
- Start Virtual Radar Server
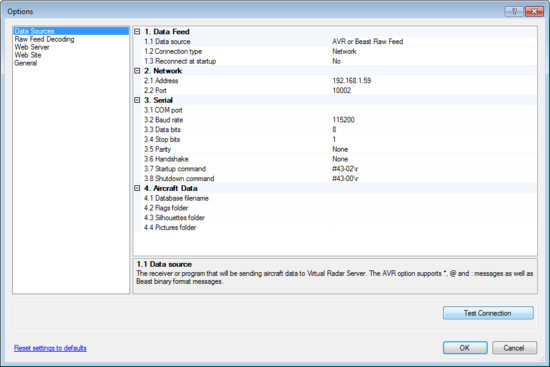
- Goto Tools => Options
- Set Data Source to AVR or Beast Raw Feed
- Set Connection Type to Network
- Set Address to your Radarcape IP address
- Set Port to 10002, 10003, or 10004 (port 10003 recommended)
- Test the connection by clicking Test Connection
- Save settings by clicking Ok
- Click Take Online
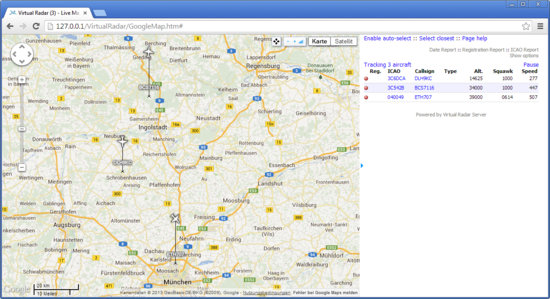
- Open Virtual Radar in your browser by clicking http://127.0.0.1/VirtualRadar in the GUI


