Radarcape:Planeplotter: Difference between revisions
Jump to navigation
Jump to search
imported>Dl4mea |
imported>Dl4mea |
||
| Line 22: | Line 22: | ||
[[File:Planeplotter-capeinstall2.png|Planeplotter TCP/IP Settings]] | [[File:Planeplotter-capeinstall2.png|Planeplotter TCP/IP Settings]] | ||
Replace ''beaglebone-3'' with the DNS name or IP address of your Radarcape (e.g., '' | Replace ''beaglebone-3'' with the DNS name or IP address of your Radarcape (e.g., ''radarcape.local:10002''). | ||
'''Step 4:''' Press green start button | '''Step 4:''' Press green start button | ||
Revision as of 21:18, 15 November 2014

|
The tasks described in this manual require little to medium experience with computers. |
Using Planeplotter with the Radarcape
This manual describes how to connect Planeplotter with the Radarcape.
Step 1: Download, install, and start Planeplotter
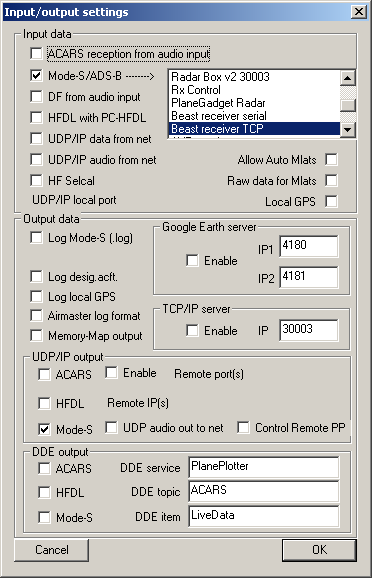
Step 2: Options -> IO-Settings
Step 3: Options -> Mode-S Receiver -> Beast Receiver -> Setup TCP/IP Client
Replace beaglebone-3 with the DNS name or IP address of your Radarcape (e.g., radarcape.local:10002).
Step 4: Press green start button

