Radarcape:XHSI: Difference between revisions
imported>Beastadmin No edit summary |
imported>Beastadmin No edit summary |
||
| (6 intermediate revisions by the same user not shown) | |||
| Line 2: | Line 2: | ||
|title=Radarcape XHSI Howto | |title=Radarcape XHSI Howto | ||
|titlemode=replace | |titlemode=replace | ||
|keywords=radarcape,xhsi,eXternal,High-fidelity,Simulator,Instruments | |keywords=radarcape,xhsi,eXternal,High-fidelity,Simulator,Instruments,Primary,Flight,Display,Navigation,PFD,ND,PLN,NAV,MAP | ||
|description=How to feed Mode-S data from the Radarcape to XHSI | |description=How to feed Mode-S data from the Radarcape to XHSI | ||
}} | }} | ||
| Line 8: | Line 8: | ||
{| | {| | ||
|[[File:Beginner.png|For Beginners]] | |[[File:Beginner.png|For Beginners]] | ||
|''Required computer skills to execute this task: Beginner'' | |''Required computer skills to execute this task: Beginner/Intermediate'' | ||
|} | |} | ||
| Line 53: | Line 53: | ||
sudo unzip AptNav201310XP1000.zip -d /usr/local/XHSI/ | sudo unzip AptNav201310XP1000.zip -d /usr/local/XHSI/ | ||
sudo chmod 755 /usr/local/XHSI/XHSI2_app/Linux/XHSI2 | sudo chmod 755 /usr/local/XHSI/XHSI2_app/Linux/XHSI2 | ||
===Step 3: Start and Configure Applications=== | ===Step 3: Start and Configure Applications=== | ||
| Line 84: | Line 85: | ||
[[File:RTL1090XHSI-02.png|frame|none|RTL1090-XSHI Interface with ICAO ID]] | [[File:RTL1090XHSI-02.png|frame|none|RTL1090-XSHI Interface with ICAO ID]] | ||
== | |||
==Enjoy your eXternal High-fidelity Simulator Instruments== | |||
[[File:XHSI-PFD-01.png|frame|none|XHSI Primary Flight Display]] | [[File:XHSI-PFD-01.png|frame|none|XHSI Primary Flight Display]] | ||
[[File:XHSI-ND-01.png|frame|none|XHSI Navigation Display]] | [[File:XHSI-ND-01.png|frame|none|XHSI Navigation Display (NAV Mode)]] | ||
[[File:XHSI-ND-02.png|frame|none|XHSI Navigation Display (PLN Mode)]] | |||
[[File:XHSI-ND-03.png|frame|none|XHSI Navigation Display (MAP Mode)]] | |||
==Additional Information== | ==Additional Information== | ||
* [http://www.rtl-sdr.com/ads-b-onboard-737-realtime-primary-flight-navigation-display/ ADS-B Onboard a 737 with Realtime Primary Flight and Navigation Display] | * [http://www.rtl-sdr.com/ads-b-onboard-737-realtime-primary-flight-navigation-display/ ADS-B Onboard a 737 with Realtime Primary Flight and Navigation Display] | ||
Latest revision as of 18:31, 5 June 2015

|
Required computer skills to execute this task: Beginner/Intermediate |
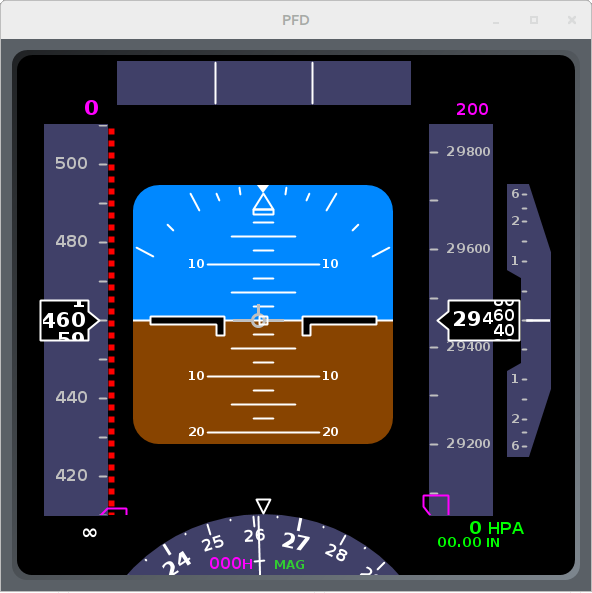
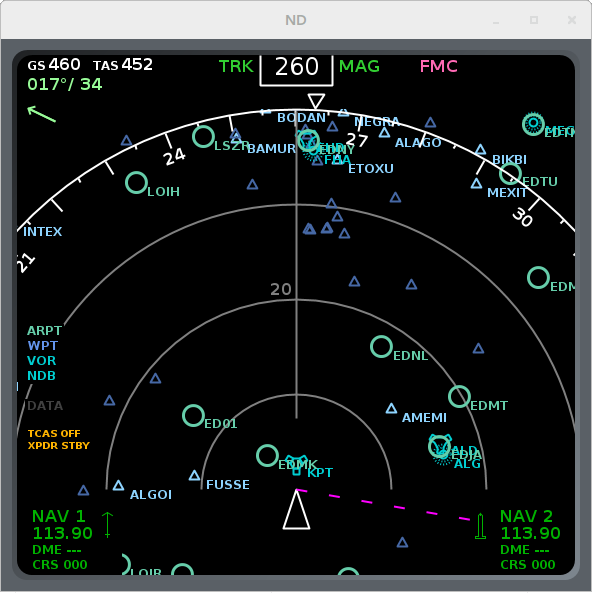
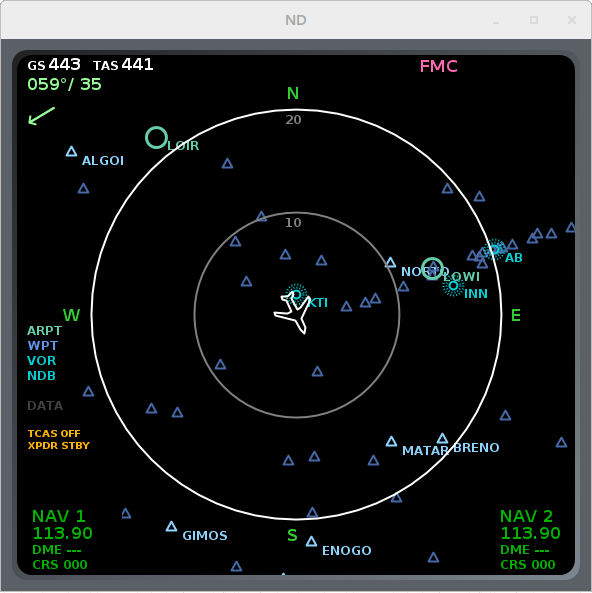
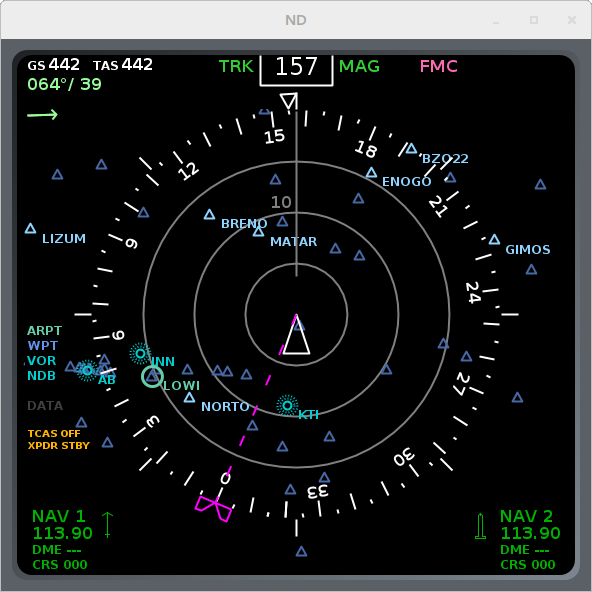
eXternal High-fidelity Simulator Instruments (XHSI)
The eXternal High-fidelity Simulator Instruments (XHSI) are a open source simulation of cockpit instruments of a Boing 737NG and Airbus A320. They were made as an extension to the [www.x-plane.com X-Plane] flight simulator. But they can also be feed with data from the Radarcape.
Two additional tools and one database are required to connect the Radarcape with XHSI:
- modesmixer2 (Flanefinder Forum)
- rtl1090XHSI.exe (sources|binary)
- AptNav201310XP1000.zip (http://data.x-plane.com)
Setup on Ubuntu Linux
Download the following files (or newer releases) and store them in /tmp:
- modesmixer2_x86_64_20150314.tgz (for 64 Bit) or modesmixer2_i386_20150314.tgz (for 32 Bit)
- rtl1090XHSI.exe
- XHSI-2-0-Beta-7.zip
- AptNav201310XP1000.zip
Step 2: Install Software
Install modesmixer2 on your system:
sudo mkdir /usr/local/modesmixer2
cd /usr/local/modesmixer2
sudo tar -xvzf /tmp/modesmixer2_x86_64_20150314.tgz
Install rtl1090XHSI:
sudo mkdir /usr/local/rtl1090XHSI
sudo mv /tmp/rtl1090XHSI.exe /usr/local/rtl1090XHSI/
sudo apt-get install mono-complete
Install XHSI:
sudo mkdir /usr/local/XHSI
sudo unzip /tmp/XHSI-2-0-Beta-7.zip -d /usr/local/XHSI/
sudo unzip AptNav201310XP1000.zip -d /usr/local/XHSI/
sudo chmod 755 /usr/local/XHSI/XHSI2_app/Linux/XHSI2
Step 3: Start and Configure Applications
Start modesmixer2 in console window 1:
/usr/local/modesmixer2/modesmixer2 --inConnect XXX.XXX.XXX.XXX:10003 --globes 31008:tableb:UUDD
Replace XXX.XXX.XXX.XXX with the IP address of your Radarcape.
Start rtl1090XHSI in console window 2:
mono /usr/local/rtl1090XHSI/rtl1090XHSI.exe
Start XHSI in console window 3:
/usr/local/XHSI/XHSI2_app/Linux/XHSI2
Setup the AptNav database within XHSI. Therefore, open the Preferences Menu from the XHSI main menu (XHSI -> Preferences ...):

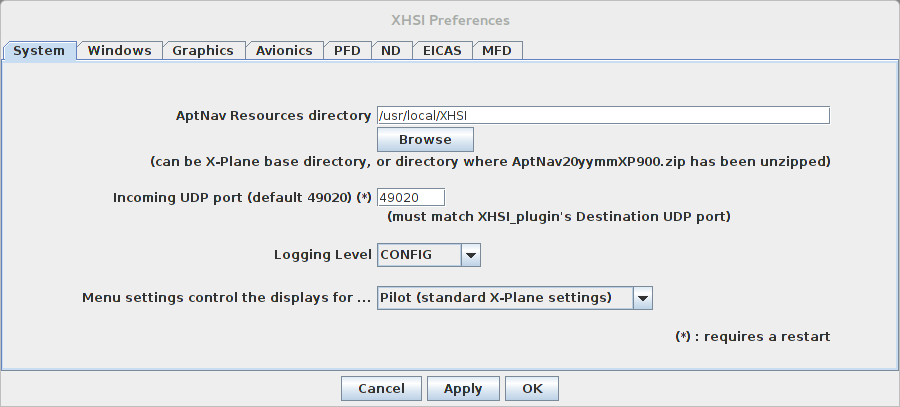
Set the AptNav Ressources directory to /usr/local/XHSI and confirm the changes by clicking the "Ok" button.
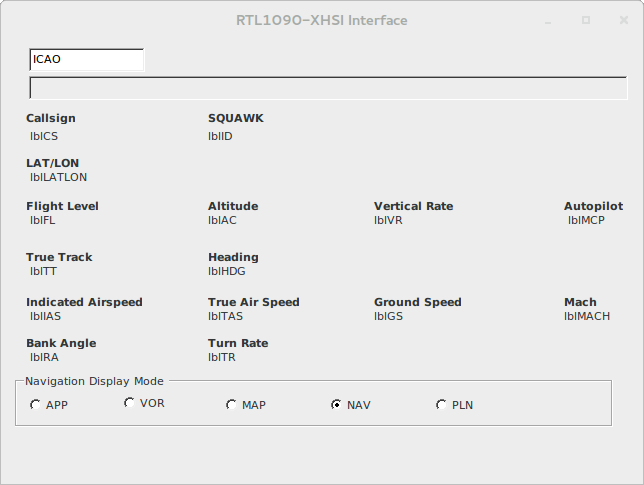
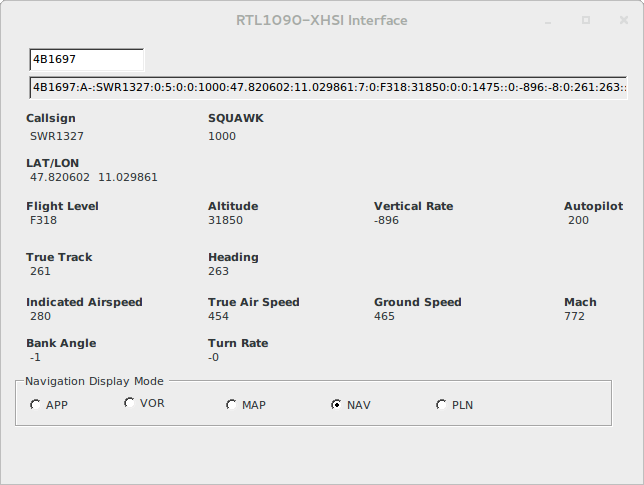
Get the ICAO ID of the flight you want to monitor from your Radarcape (e.g., from the Aircraft List or 2D Map). Enter the ICAO ID (e.g., 4B1697) in the RTL1090-XHSI Interface.
Enjoy your eXternal High-fidelity Simulator Instruments
